
Tom installed his Zone Air mini-split in 8 hours and saved $2,600. No HVAC experience. No vacuum pump. No EPA certification. Just basic tools and a free weekend. If you're wondering how to install a mini split yourself, this guide walks you through every step.
Yes, you can DIY install a mini split. Pre-charged systems eliminated the technical barriers. No EPA certification needed, no vacuum pump, no refrigerant handling. You need: basic hand tools, a drill with 3" hole saw, and 4-8 hours. The four main steps: mount the indoor unit, install the outdoor unit, connect the pre-charged line set, and wire the electrical. Average DIY savings: $1,500-$3,000 in labor costs.
Here's how you can do the same.
Can I Install a Mini Split Myself?
Yes. Pre-charged systems eliminated the barriers that made this professional-only work.
Old way (professional required):
- EPA 608 certification ($150-$250)
- Vacuum pump ($300-$1,500)
- Manifold gauges ($100-$300)
- Refrigerant handling knowledge
- Labor cost: $1,500-$3,000
New way (DIY-friendly):
- Pre-charged linesets (refrigerant sealed at factory)
- Basic hand tools you already own
- No certifications needed
- No vacuum pump
- Time: 4-8 hours
- Save: $1,500-$3,000
Are You Ready? (Quick Self-Assessment)
✅ You can DIY if you've:
- Drilled holes through exterior walls
- Installed ceiling fans or light fixtures
- Followed detailed instructions
- Can lift 50-80 lbs with a helper
- Comfortable on ladders
❌ Hire a pro if you:
- Have never done electrical work
- Uncomfortable with heights
- Installing 3+ zones
- Local codes require licensed contractor

Tools You Need (Most You Already Own)
Essential:
- Power drill + 3" hole saw
- Level (48" recommended)
- Screwdriver set
- Adjustable wrench
- Tape measure
- Stud finder
- Safety glasses, gloves
Nice to Have:
- Vacuum (for cleanup)
- Laser level
- Ladder
- Impact driver
- Hammer drill (concrete/brick)
Included with Zone Air:
- Indoor unit
- Outdoor unit
- Pre-charged 16ft lineset
- Mounting bracket
- Hardware
- Remote
- Instructions
May Need to Buy ($50-$400):
- Line extension (if >16ft apart)
- Concrete pad/pavers ($20-$80)
- Electrical wire/breaker ($50-$150)
- Caulk/sealant ($10-$20)
Pre-Installation Planning (Do This First!)
1. Unit Placement
Indoor unit:
- On exterior wall (shorter line run)
- 7-8 ft above floor
- 6" clearance from ceiling
- Away from direct sunlight
- Not above beds/electronics
Outdoor unit:
- Level surface (concrete pad ideal)
- Shaded if possible
- 12" clearance all sides
- Easy access for maintenance
- Away from bedroom windows
2. Electrical Check
- 9K-12K BTU: 115V, 15-20 amp circuit — standard outlet, may use existing circuit
- 18K BTU+: 208-230V, 20-30 amp circuit — like dryer/range, new circuit costs $300-$600 if needed
3. Permits
Call your local building department: "Do I need a permit for mini-split installation?"
Typical cost: $50-$200 Time: 5-minute phone call
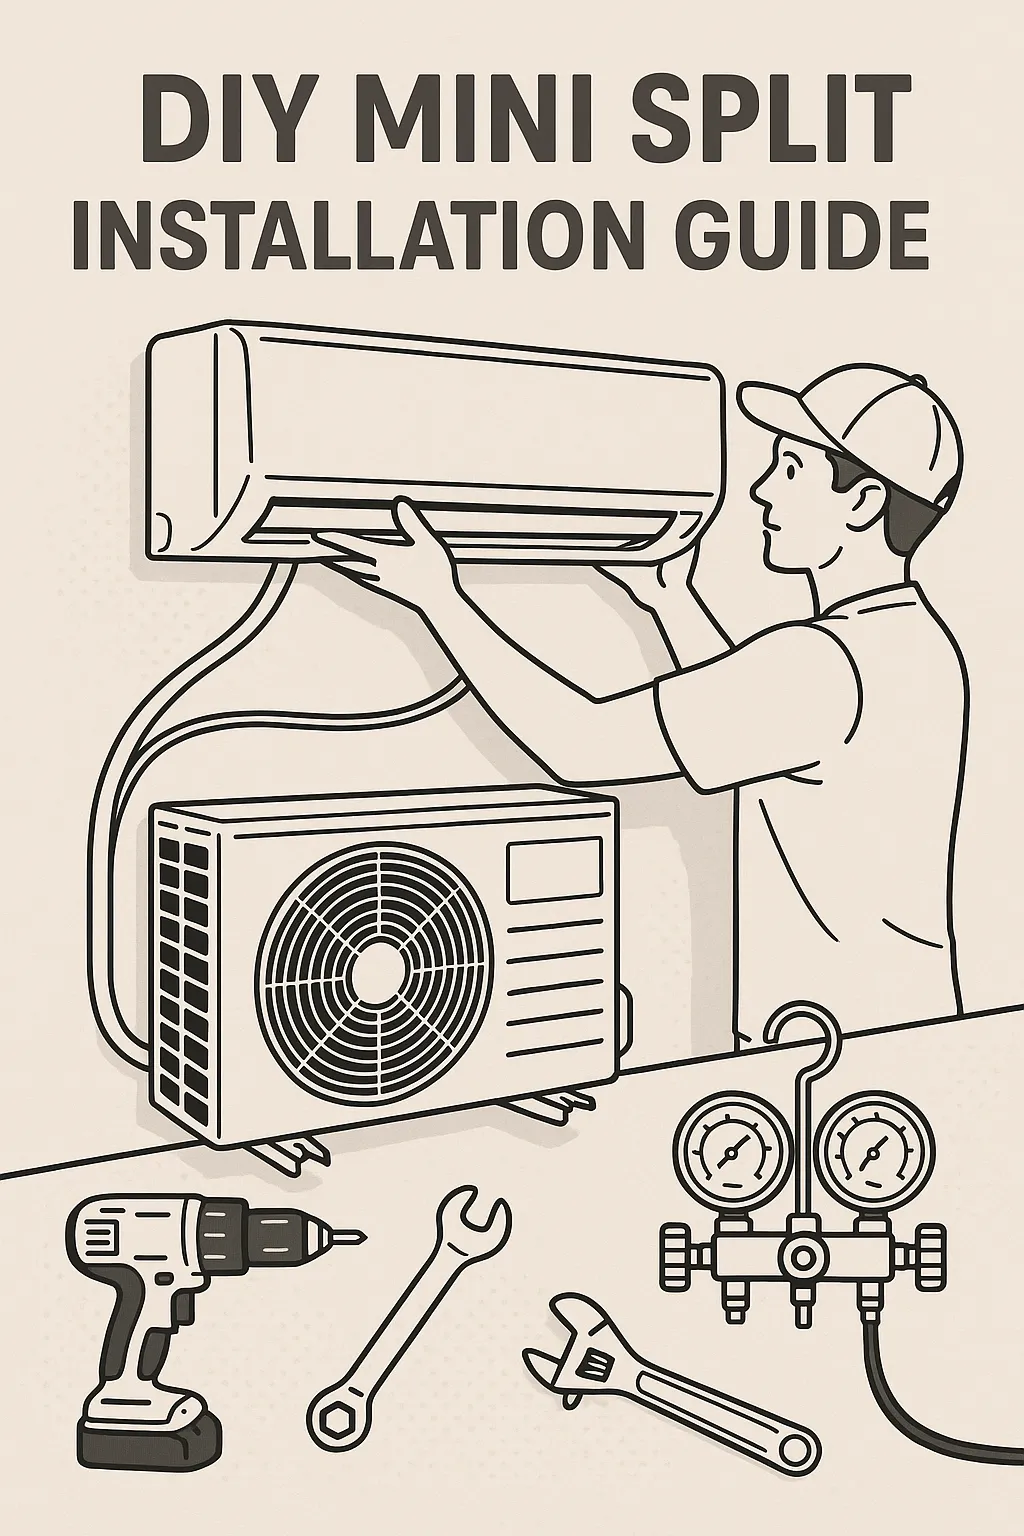
📋 Visual Guide: Interactive installation infographic - complete visual overview
Mini Split Installation Step by Step
Step 1: Mount Indoor Bracket (30-60 min)
- Find studs with stud finder, mark locations
- Measure 7-8 ft up from floor
- Level - Mark perfectly horizontal line (critical!)
- Use template - Mark screw holes
- Drill pilot holes - Into studs (or use heavy-duty anchors)
- Mount bracket - Start all screws, verify level, then tighten
- Pull-test - Bracket must hold 30-50 lbs without flexing
⚠️ Common mistakes: Not level = drainage problems. Missing studs = sagging.
Step 2: Drill Wall Hole (15-30 min)
- Mark location behind indoor unit, slightly lower than unit bottom
- Check for wires/pipes behind wall (stud finder)
- Drill with 3" hole saw - Inside to outside, slow and steady
- Angle downward - 1/4" drop per foot toward outside
⚠️ Critical: Downward slope prevents water from draining into your wall!
Step 3: Install Outdoor Unit (45-90 min)
Ground mount (recommended):
- Place concrete pad/pavers (3-6" above ground)
- Verify perfectly level
- Position unit with 12" clearance all sides
- Secure to pad (or anti-vibration feet)
Wall mount:
- Install bracket (hit studs, verify level)
- Attach unit to bracket
- Verify level
Step 4: Connect Linesets (30-60 min)
Zone Air pre-charged advantage: No vacuum pump, no EPA cert, no refrigerant handling!
- Uncoil lineset carefully (no kinks)
- Feed through wall hole
- Connect to indoor unit - Hand-tighten, then torque to spec
- Connect to outdoor unit - Same process
- Seal wall with foam backer rod + caulk
💡 Pre-charged advantage: Skip vacuum pump entirely (saves 1-2 hours + $650-$2,350 in tools)!
Step 5: Install Drain (15-30 min)
- Attach drain hose to indoor unit
- Ensure continuous downward slope (1/4" per foot)
- Terminate outside, away from foundation
Step 6: Electrical (30-60 min)
⚠️ Turn off power at breaker first!
115V systems (9K-12K):
- Plug into standard outlet (dedicated 15-20 amp circuit)
- Connect control wire between units
- Follow color-coded diagram
208-230V systems (18K+):
- Install disconnect box near outdoor unit
- Run dedicated 20-30 amp circuit from panel
- Not comfortable? Hire electrician for this step only ($200-$400)
- Connect per diagram (L1, L2, Ground)
Step 7: Hang Indoor Unit (5-10 min)
- Verify all connections complete
- Carefully lift unit onto bracket
- Hook into bracket clips
- Verify secure
- Tuck lines/wires neatly behind unit
Step 8: Test and Start System (15-30 min)
-
Final Inspection
- All electrical connections tight
- Drain sloped properly
- Wall penetrations sealed
- Outdoor unit level and secure
-
Power On
- Turn on breaker
- Indoor unit should power up
- Display will light up
-
Initial Test Run
- Set to cooling mode
- Set temperature 5°F below room temp
- Should hear compressor start within minutes
- Feel for cold air from indoor unit (within 5-10 min)
-
Check for Issues
- No unusual noises
- No water leaks
- Good airflow from indoor unit
- Outdoor fan spinning
- Lines to outdoor unit should get cold (suction line)
-
Test All Modes
- Cool mode
- Heat mode
- Fan only
- Dehumidify (if available)
- All settings on remote
Common DIY Mistakes and How to Avoid Them
Mistake #1: Indoor Unit Not Level
- Problem: Condensate won't drain, will leak into home
- Solution: Use long level, adjust mounting bracket
Mistake #2: Wall Hole Sloped Wrong Direction
- Problem: Water runs back into wall
- Solution: Drill with slight downward angle toward outside
Mistake #3: Kinked or Bent Linesets
- Problem: Restricts refrigerant flow, reduces efficiency
- Solution: Route carefully, use gradual curves only
Mistake #4: Over-Tightening Connections
- Problem: Damages flares, causes leaks
- Solution: Hand-tight plus 1/4-1/2 turn with wrench
Mistake #5: Poor Wall Sealing
- Problem: Air and water infiltration, energy loss
- Solution: Use foam backer rod plus quality exterior caulk
Mistake #6: Insufficient Outdoor Clearance
- Problem: Reduced efficiency, overheating
- Solution: Maintain 12" minimum all sides, 4 ft front
Mistake #7: Not Testing Before Buttoning Up
- Problem: Have to tear apart finished work to fix issue
- Solution: Test thoroughly before final sealing and finishing
Post-Installation
First 24 Hours:
- Run system several hours
- Monitor for leaks
- Listen for unusual sounds
- Verify all modes work
- Check temperature accuracy
First Week:
- Monitor energy usage
- Test remote functions
- Adjust vents for optimal airflow
- Note any issues for warranty registration
Register Warranty:
- Complete within 30-60 days usually
- Requires proof of purchase
- Photos of installation sometimes required
- Activates full manufacturer warranty
Schedule Annual Maintenance:
- First service at 6-12 months
- Professional inspection recommended
- Checks refrigerant levels
- Cleans components
- Verifies optimal operation
DIY Installation: Costs vs. Savings
Total DIY Costs:
- Zone Air 12K system: $2,189
- Tools (if buying all): $200
- Additional materials: $100
- Electrical (if DIY): $50
- Total: $2,539
Professional Installation:
- Same equipment: $2,500
- Professional install: $2,500
- Permits/fees: $150
- Total: $5,150
Your Savings: $2,611
Time Investment:
- Research/planning: 2-4 hours
- Installation: 4-8 hours
- Total: 6-12 hours
Hourly Savings Rate: $217-$435/hour of your time
When to Call for Help
Even DIYers sometimes need assistance. Call a professional if:
Electrical Issues:
- Need panel upgrade (>$500 job)
- Not comfortable with 230V work
- Can't identify correct circuit
Structural Concerns:
- Brick/stone wall drilling
- Can't locate studs
- Wall concerns (plumbing, wiring)
Technical Problems:
- System not cooling after installation
- Refrigerant leak suspected
- Electrical components not working
Safety First: If you're unsure, ask a pro. Zone Air offers live technical support (9–5 MST).
Resources and Support
Zone Air Installation Support:
- Live technical support hotline (9–5 MST)
- Video installation guides
- Live chat assistance
- Email support with photos
- Community forum
Recommended Reading:
- Full installation manual (included)
- Online video series
- Sizing guide for BTU selection
- Electrical code basics
Is DIY Installation Right for You?
You're a Good Candidate If:
- Comfortable with basic tools
- Have successfully completed other DIY projects
- Can follow detailed instructions
- Have a helper available for heavy lifting
- Want to save $1,500-$3,000
Consider Professional If:
- No DIY experience
- Uncomfortable on ladders
- Uncertain about electrical work
- Complex installation (multi-story, commercial)
- Time-constrained
Frequently Asked Questions
Do I need a permit to install a mini-split myself?
It depends on location. Many areas exempt mini-splits (especially under 36,000 BTU) from permits, but some require electrical permits for new circuits. Call your building department and ask: "Do I need a permit to install a ductless mini-split?" and "Do I need an electrical permit?" Permit costs run $50-$200. Getting permits (when required) protects home value and insurance coverage.
How long does DIY mini-split installation really take?
First-time: 6-10 hours. Most complete single-zone installations in one Saturday. Time breakdown: indoor bracket (30-60 min), wall penetration (15-90 min depending on material), outdoor unit (45-90 min), linesets (30-60 min), electrical (30-120 min), testing (15-30 min). Second installations go faster (4-6 hours) once you know the process. Multi-zone systems: 14-18 hours total, or 5-6 hours per zone.
Do I need EPA certification to install a mini-split with pre-charged lines?
No. Pre-charged systems require no EPA Section 608 certification because you never open the refrigerant circuit or handle refrigerants directly. You're assembling pre-charged components (like connecting a window AC unit), not performing refrigerant work. Traditional installations require certification because technicians vacuum-evacuate lines, add refrigerant charges, and check pressures. With pre-charged linesets, you skip all refrigerant handling entirely.
Can I install a mini-split if I'm not an electrician?
Yes, if comfortable with basic electrical. 9K-12K BTU units use standard 115V outlets (like ceiling fan complexity). 18K+ units need 230V circuits (like dryer outlets)—more complex but DIYable if experienced with 240V work. Hybrid option: Hire electrician for new 230V circuit ($300-$600) while you handle mechanical installation—saves $1,200-$1,800 vs. full professional install. Check local codes; some require licensed electricians.
What's the hardest part of DIY mini-split installation?
Mentally: Overcoming intimidation. Physically: drilling the 3" wall penetration (irreversible, must angle downward, avoid studs/wires). Wood walls: 15-30 minutes. Masonry: 45-90 minutes with hammer drill ($100-200 to hire for this step alone). Second challenge: lifting 60-100 lb outdoor unit (requires helper for wall-mounts; ground-mounts easier). Electrical/linesets prove easier than expected—color-coded diagrams and straightforward connections.
Will installing it myself void the warranty?
No—if you register within 30-60 days and follow instructions. Zone Air covers DIY installations with a 7-year compressor warranty and 5-year parts warranty. Unlike premium brands requiring certified dealer installation, Zone Air supports direct-to-consumer DIY. Warranty excludes installation damage (wrong drill angle, over-tightened connections, etc.) whether DIY or pro-installed. Keep installation photos and registration confirmation. Follow instructions carefully and warranty remains valid.
Do I really save money installing myself or should I hire a pro?
Yes—save $1,500-$2,500 per zone. Professional: $3,550-$5,500 (equipment + labor + permits). DIY: $2,339-$2,439 (equipment + materials). That's $120-$500/hour for 6-10 hours work. Multi-zone savings multiply ($3,000-$5,000 for three zones). Hire pro if: zero DIY experience, uncomfortable with heights, brick/concrete walls, commercial property, or time-constrained. Hybrid option: DIY most work, hire electrician ($300-$600) or handyman for masonry drilling ($100-$200)—saves $1,000-$1,800.
Next Steps
Ready to start your DIY mini-split installation? You've now learned that you can install a ductless AC yourself with the right system and basic tools.
- Choose Your System: Browse our product lineup
- Size Correctly: Use our sizing calculator
- Gather Tools: Review tools list above
- Watch Videos: Check our installation video series
- Order Equipment: Get everything delivered in 3-5 days
Questions? Our technical team is available 9–5 MST to guide you through your DIY installation.
Save $1,500-$3,000 by installing yourself with Zone Air's DIY-friendly systems.